There are many ways to set up a campsite, but we’re going to focus on setting up a campsite that has full-hookups. That means the site has a 30-amp or 50-amp electrical power service, has a fresh, portable water hookup, and has a holding-tank dump site right at your campsite.
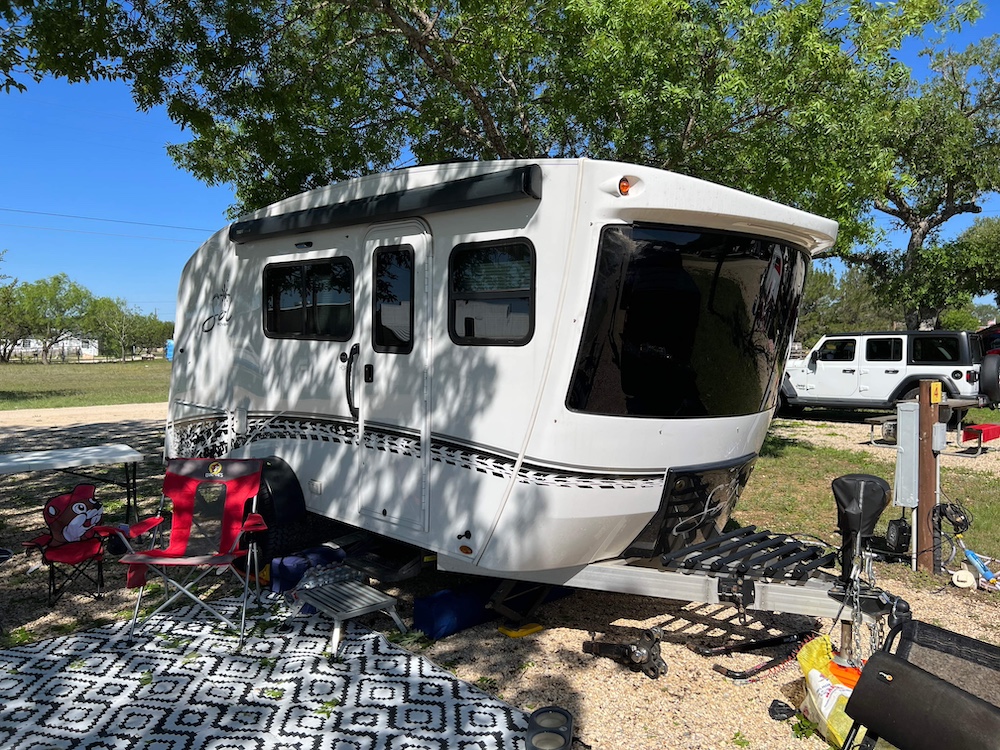
So, you’ve arrived! You’ve successfully backed your trailer into its spot! Now what?
- Inspect your space
- Make sure you have enough clearance around your trailer to operate all equipment. EX: slide-outs, awnings, etc
- Verify that you have access and the right distances to properly and safely connect to power, water, and sewer.
- Level Your Trailer Left-to-Right (Side-to-Side)
- Determine which side of the trailer is the “low” side
- Place your leveling kit/equipment under the tire(s) of the low side so you can “drive” the trailer onto them, thus raising that side of the trailer.
- You can use a level for this step, but eyeing is often good enough for camping.
- At times, RV refrigerators and AC units operate better at near-level or slightly off-level attitudes. You’ll need to experiment to determine what works best for your specific rig.
- Chock your tires
- Disconnect from Your Tow Vehicle
- Re-install the wheel or jack-plate (“foot”) on the bottom of the jack post
- Lower the tongue jack until the wheel or plate makes contact with the ground. (You can certainly use a jackpad of some kind here.)
- Un-pin/unlock and un-pin the latch mechanism on the coupler.
- Open the coupler
- Using the tongue jack, raise the tongue of the trailer by lowering the jack. You want the coupler to clear (be above) the tow ball by 2-3”.
- Disconnect the following items from your tow vehicle:
- Electrical plugs (4 or 7-pin)
- Tow Chains
- Breakaway cable
- Pull the tow vehicle forward 2-3 feet.
- Level Your Trailer Front-to-Back
- Use the tongue jack to raise or lower the front of the trailer to achieve a level attitude
- NEVER use the stabilizer jacks to level a trailer, side-to-side, or front-to-back.
- Set Your Stabilizer Jacks
- Use jack pads when and where needed
- Never use stabilizer jacks to raise a trailer… they’re only designed for stability
- Lower all the stabilizer jacks until they make firm contact with the ground. Firm contact, not lifting contact.
- The further you run your stability jacks down, the more unstable they will become. So, using stacked jack pads may result in a more stable feel when you’re inside the camper.
- Hook Up to On-Site Electrical Service
- Your campsite has a 110/120, 30/amp, and/or 50/amp power receptacle, often in a grey box, attached to a post.
- Attach your power cord to the appropriate outlet and use an adapter if you need to. We suggest having various “dog-bone” style adapters on hand.
- Attach the trailer-end of the power chord to the trailer
- Line up the prongs on the receptacle to the slots on the plug
- Push the plug all the way in to properly seat it in the receptacle (this is for safety)
- Twist the plug clockwise to “lock” it into place
- Finally, screw on the plug’s locking collar
- If you have an RV surge protector (we HIGHLY recommend one), use it at the post receptacle.
- TURN ON THE BREAKER(s) The campsite will have a handle or switch to turn the power ‘on’, typically located where you connect the power cable at the receptacle.
- Hook Up to On-Site Fresh Water
- USE A DEDICATED FRESH WATER HOSE
- NEVER USE A HOSE THAT HAS BEEN USED FOR FLUSHING, GREY, OR BLACK TANK PURPOSES.
- Attach a pressure regulator to the campsite’s faucet/spigot
- Attach your dedicated freshwater hose to the pressure regulator
- Attach your water hose to your trailer, making sure too much weight isn’t pulling down on the trailer’s connector.
- If you have an external water filter (we HIGHLY recommend one), place it between the water pressure regulator and the trailer, somewhere along the length of the hose(s)
- Hook Up to On-Site Sewer
- Glove time, if you got ‘em!
- Verify that you have proper hose lengths and fittings for the task
- Distance
- Trailer-side bayonet coupler
- Sewer-side inlet fitting (usually a 90-degree fitting)
- Connect multiple lengths of hose if necessary
- Seat the sewer-end hose fitting into the sewer inlet
- A sewer weight may add a little confidence to your setup
- Attach the trailer-side bayonet fitting to the trailer
- Remove the outlet cap
- Remove attach the fitting
- Firmly twist the bayonet fitting clockwise to lock and seal the fitting
- Open the GRAY water valve by pulling the GRAY handle
- MAKE SURE THE BLACK TANK VALVE/HANDLE STAYS CLOSED UNTIL YOU’RE READY TO DUMP THE TANK. Otherwise… always closed!
- Test the Sewer Hose Connection
- Run water from a sink or the shower inside the trailer
- Visually inspect the sewer hose for any signs of leaks, fitting, or drainage issues
- Turn off the water at the sink inside the camper
- Secure any cords or hoses to prevent
- Tripping hazards
- Electrocution hazards
- Leaking and pooling situations at/within the hoses
